Unlock Effortless Snacking: The Magic of Fiber-Packed No-Bake Nut & Coconut Bars
In our fast-paced world, finding snacks that are both genuinely healthy and incredibly convenient can feel like searching for a unicorn. But what if we told you that such a snack exists, is packed with fiber, brimming with flavor, and requires absolutely no baking? Enter the wonderful world of nut and coconut bars – your new best friend for wholesome, grab-and-go nourishment.
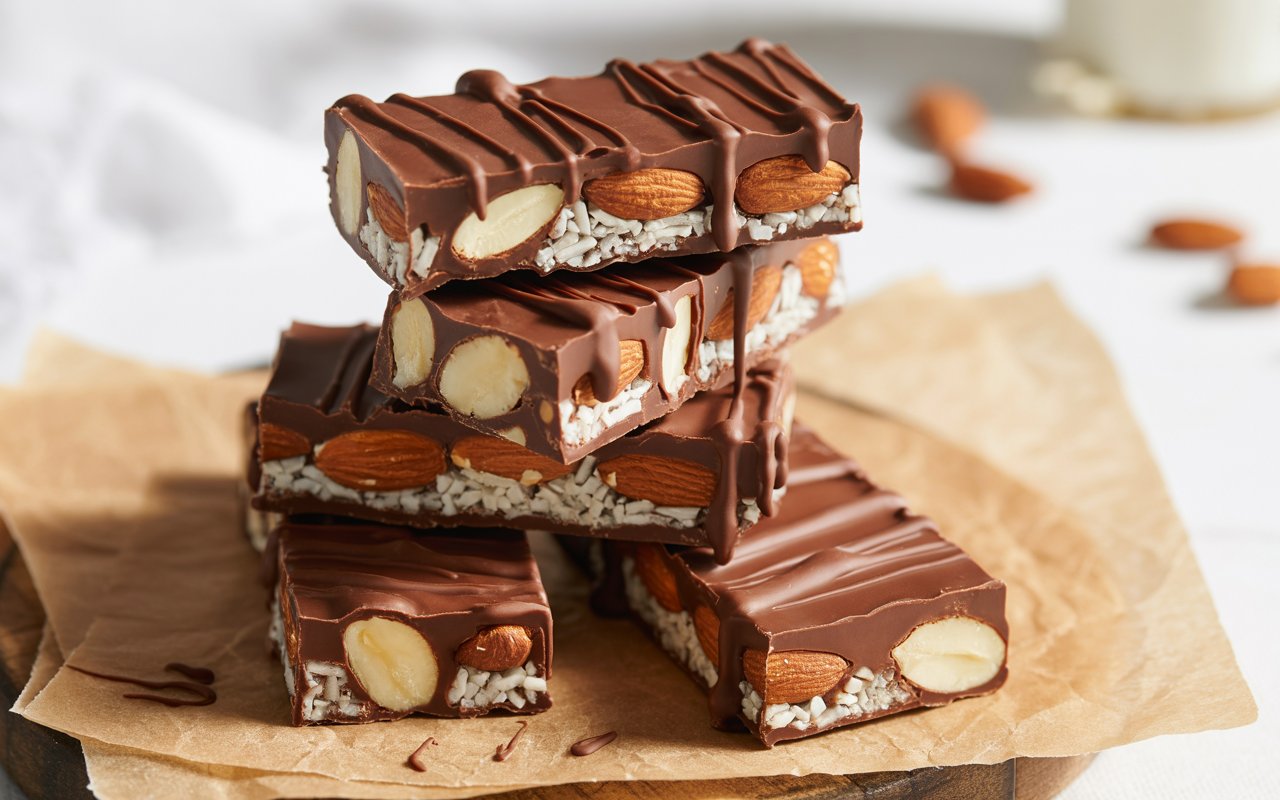
These aren't just any snack bars. Imagine a delightful blend of seedy crunch, chewy texture, and subtle sweetness, often elevated by a hint of chocolate, all in one compact package. Perfect for busy mornings, a midday energy boost, or a post-workout treat, these homemade easy healthy nut & coconut bars make perfect freezer snacks, ready whenever hunger strikes. Forget store-bought options laden with questionable ingredients; making your own ensures you control every delicious, nutritious bite.
Why No-Bake Nut & Coconut Bars Are Your Snack Game-Changer
The allure of these bars extends far beyond their simple preparation. They offer a compelling blend of benefits that make them a superior choice for healthy snacking:
- Fiber Powerhouse: Loaded with ingredients like quinoa, chia seeds, nuts, and coconut, these bars are an excellent source of dietary fiber. Fiber is crucial for digestive health, helps regulate blood sugar levels, and contributes to a feeling of fullness, which can aid in weight management.
- Effortless & Time-Saving: The "no-bake" aspect is a massive win for anyone with a busy schedule. A single batch can be whipped up in under an hour, with most of that time being hands-off as the bars set. This makes them an ideal meal prep staple, ensuring you always have a healthy option at your fingertips.
- Unbeatable Texture & Flavor: From the satisfying pop of puffed grains to the hearty crunch of nuts and the chewy sweetness of coconut, these bars offer a dynamic textural experience. Naturally sweetened binders like brown rice syrup and honey provide a balanced sweetness without refined sugars, while a touch of chocolate chips can transform them into an irresistible treat.
- Customizable for Every Craving: One of the greatest advantages is their adaptability. Whether you have specific dietary needs, a picky eater in the house, or simply want to experiment with different flavor profiles, these bars can be tailored to your preference. We'll dive deeper into customization options below.
- Freezer-Friendly Convenience: Make a large batch and store them in the freezer for up to three months. This means less frequent prep and more spontaneous healthy snacking. Just grab and go – they thaw quickly or can be enjoyed slightly frozen for a refreshing treat.
The Powerhouse Ingredients Behind Your Favorite Nut & Coconut Bars
The magic of these bars lies in their thoughtful combination of whole-food ingredients. Each component plays a vital role in both texture, flavor, and nutritional profile. While we adore our recommended combination, the beauty lies in their flexibility, allowing you to create crunchy nut & coconut bars with a customizable seedy snack recipe that perfectly suits your taste.
Core Dry Ingredients: The Foundation of Crunch and Fiber
- Puffed Quinoa & Puffed Rice: These light, airy grains contribute a delightful crispness and volume to the bars. Quinoa, in particular, is a complete protein and a fantastic source of fiber, adding a nutty undertone. The process of puffing quinoa is surprisingly simple at home; it's a quick toast in a dry skillet where you'll hear tiny pops, creating a more rustic, toasted texture than commercially puffed quinoa.
- Almonds & Other Nuts: Almonds bring healthy fats, protein, and a satisfying crunch. Feel free to substitute with your favorite nuts like walnuts, pecans, cashews, or a mix. Chopping them ensures they integrate well and distribute evenly.
- Shredded Coconut: The star of these bars, coconut adds a unique chewiness, natural sweetness, and a distinct tropical aroma. We prefer unsweetened shredded coconut to control the overall sweetness of the bar. It also provides healthy medium-chain triglycerides (MCTs). Interestingly, while our bars are no-bake, some traditional coconut treats, like the Filipino bibingka, inspire the deep coconut flavor profiles found in many recipes globally. Our aim here, however, is pure no-bake bliss!
- Chia Seeds: These tiny powerhouses are packed with omega-3 fatty acids, fiber, and protein. They also act as a binder, helping the bars hold their shape.
- Chocolate Chips: A non-negotiable for many, chocolate chips add pockets of melty, rich sweetness. Mini chocolate chips are great for even distribution, or you can opt for chopped dark chocolate for a more sophisticated flavor.
Binding Wet Ingredients: The Sweet Glue
- Brown Rice Syrup & Honey: These natural sweeteners not only provide delicious flavor but also act as the primary binders, giving the bars their signature chewy texture. Brown rice syrup offers a milder sweetness and a lovely crispness when cooled, while honey adds its unique floral notes. You can experiment with maple syrup for a different flavor profile, keeping in mind it might alter the binding slightly.
- Nut Butter (Cashew Butter Recommended): Cashew butter adds a creamy richness and helps to emulsify the mixture, contributing to the overall binding and flavor. Almond butter, peanut butter, or even sunflower seed butter are excellent substitutes depending on your preference or allergy considerations.
- Vanilla Extract & Salt: These essential ingredients enhance all the other flavors, adding depth and balance. A touch of salt is crucial for cutting through the sweetness and highlighting the nutty, chocolatey notes.
Crafting Your Perfect Batch: A Step-by-Step Guide to No-Bake Nut & Coconut Bars
Making these bars is incredibly straightforward, focusing on simple assembly rather than complex cooking techniques. Here's how to create your own batch of fiber-packed goodness:
1. Prepare Your Grains for Maximum Crunch
Puff the Quinoa: Heat a large, dry skillet over medium-high heat. Add the quinoa in a single layer. Stir constantly. You'll hear distinct popping sounds, and the quinoa will begin to turn a golden brown. This usually takes just a few minutes. As soon as it's mostly popped and lightly toasted, immediately remove it from the heat to prevent burning. Transfer it to a large mixing bowl.
2. Combine the Dry Delights
To the puffed quinoa, add the puffed rice, chopped almonds (or your chosen nuts), shredded coconut, chia seeds, and chocolate chips. Toss everything gently until well combined. This ensures an even distribution of all the wonderful textures and flavors in every bite. Set this mixture aside.
3. Melt and Whisk the Binding Sauce
In a separate saucepan or microwave-safe bowl, combine the brown rice syrup, honey, cashew butter (or alternative nut butter), vanilla extract, and a pinch of salt. Heat this mixture over medium-low heat on the stove, or in the microwave in 30-second intervals, whisking frequently until it's completely melted and smooth. The goal is a uniform, pourable consistency that will evenly coat your dry ingredients.
4. Bring Everything Together with a Chocolatey Swirl
Pour the warm, smooth brown rice syrup mixture over the dry quinoa mixture in the large bowl. Using a sturdy spatula, toss and fold everything together. The warmth of the sauce will begin to gently melt the chocolate chips, transforming the binder into a delicious chocolate-infused sauce that beautifully coats every single piece. Continue mixing until all dry ingredients are thoroughly coated.
5. Set and Chill to Perfection
Line a 9x13-inch baking dish with parchment paper, leaving an overhang on the sides – this will be your handle later! Transfer the entire mixture into the prepared dish. Using the back of a spoon or your hands (lightly greased if needed), press the mixture down firmly and evenly into the pan. This is a crucial step for ensuring your bars hold together. Place the dish in the freezer for at least 1 hour, or until the bars are completely firm and set.
6. Slice, Store, and Enjoy!
Once thoroughly set, use the parchment paper overhang to lift the entire slab of bars out of the pan and onto a cutting board. With a sharp knife, cut the bars into your desired shapes – classic rectangles, neat squares, or even smaller bite-sized pieces for quick energy boosts. Immediately transfer the sliced bars to an airtight container or freezer bag. Store them in the freezer for up to 3 months. Enjoy them straight from the freezer for a firmer bite, or let them sit at room temperature for a few minutes to soften slightly.
Tips for Success & Next-Level Customization
While the recipe is straightforward, a few expert tips can elevate your nut and coconut bars from good to absolutely phenomenal:
- Patience is Key for Setting: Do not rush the freezing process. Allowing the bars to set completely for at least an hour (or even longer) is essential for clean cuts and preventing crumbling. If you try to slice them too soon, they will fall apart.
- Enhance the Topping: Before pressing the mixture into the pan, consider sprinkling an extra handful of mini chocolate chips, a dusting of flaky sea salt, or a few extra toasted nuts on top. Press them lightly into the surface. This adds visual appeal and an extra layer of flavor and texture.
- Experiment with Nut Butters: While cashew butter provides a neutral, creamy base, try almond butter for a richer flavor, peanut butter for a classic combination, or even pecan butter for a unique twist. Ensure your chosen nut butter is natural, with minimal added oils or sugars, for the best consistency and health benefits.
- Sweetener Swaps: Maple syrup can be used in place of honey for a vegan option, but be aware it might make the bars slightly less firm. Adjust consistency by adding a touch more dry ingredients if needed.
- Dried Fruit Additions: For an extra burst of sweetness and chewiness, fold in some chopped dried cranberries, apricots, raisins, or even finely diced dates with your dry ingredients.
- Spice it Up: A pinch of cinnamon, nutmeg, or even a tiny dash of cayenne pepper (for a hint of warmth with chocolate) can add an interesting complexity to your bars.
- Storage Savvy: Always store your bars in an airtight container in the freezer. This maintains their freshness, prevents freezer burn, and keeps them from sticking together. Layer with parchment paper between layers if stacking.
Conclusion: Your New Go-To for Wholesome Snacking
These fiber-packed no-bake nut and coconut bars are more than just a recipe; they're a lifestyle hack for anyone committed to healthy eating without sacrificing flavor or convenience. With their satisfying crunch, chewy texture, and abundant nutrients, they offer a perfect solution for busy individuals, active families, or anyone simply looking for a wholesome treat.
By taking a small amount of time to prepare a batch, you empower yourself with a ready-made healthy snack that combats cravings, fuels your day, and delights your taste buds. So, skip the processed alternatives and embrace the simplicity and goodness of homemade. Your body and your taste buds will thank you!
